URA Career Basics
A subsection of the Beginner's Guide.
The tutorial was a shortened, comprehensive version of a Career. Now, let’s take a look at what a full Career looks like.
Selecting a Trainee
Unlike the tutorial, we get to select our Trainee. Everyone starts off with the same 5 Trainees, along with the selected 3*.
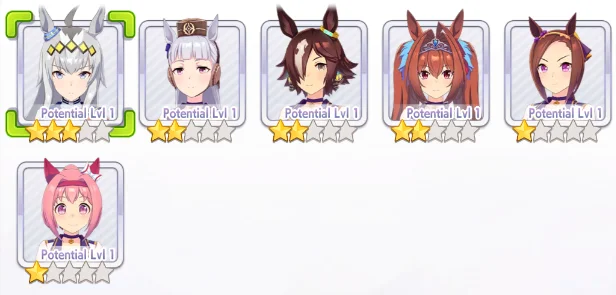
An example Trainee lineup
Each Trainee has a different Career Story and Goals, along with different types of races they’re proficient at. It’s recommended to try every Trainee at least once in order to get a hang of the game.
After the Trainee selection is once again our Legacies. We still do not have any good Legacies, and we won’t for a while. For now, we can use the Guest Legacies system to borrow another player’s Legacies.
Finding Legacies
The in-game system for finding players with desired Legacies is poorly incorporated, and makes it very difficult to find something worth using. Therefore, we will be using a third-party website. The website generally recommended to use for looking up Legacies is chronogenesis.net and uma.moe. For this example, we will use chronogenesis.

Chronogenesis Homepage
Once on the website, we can go to Trainer Search. The menu that comes up is complicated, but we are only looking for one thing: a Legacy with a full lineage of 3* Blue Sparks. While Blue Sparks are less important down the line, it will help us finish our early Careers. For now, we will look for a 9* Power Legacy.
TIP
As we will be running multiple Speed Cards and mainly training Speed, Speed Sparks are generally not desired.
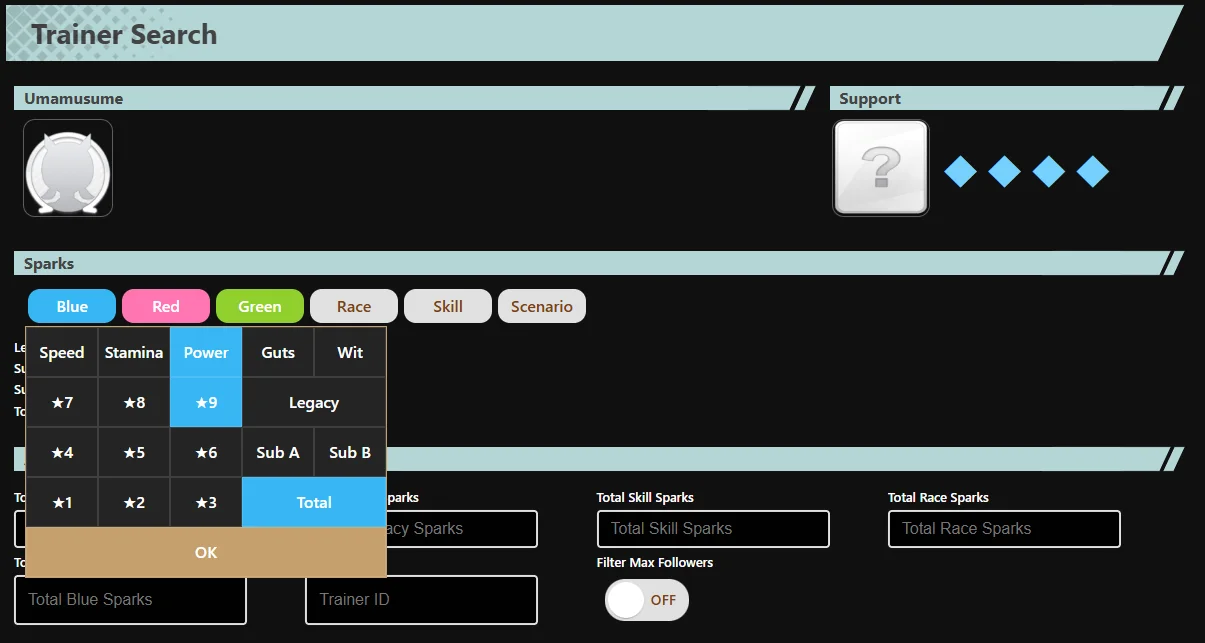
Chronogenesis Trainer Search
To achieve this, we can click “Blue”, then “Power”, and click “OK”. Then, click “Search” in order to find a Legacy that we need.
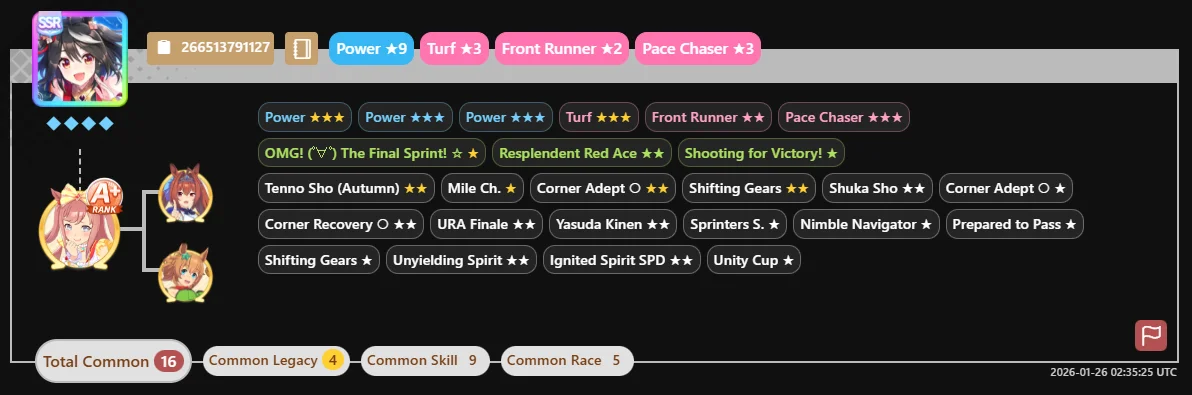
Example Parent Search
For now, this is good enough for us. Click the brown box with the Friend Code and it will automatically be copied. In-game, maneuver to Menu, then Friends, then ID Search. Paste our Friend Code in, and Follow the Trainer.
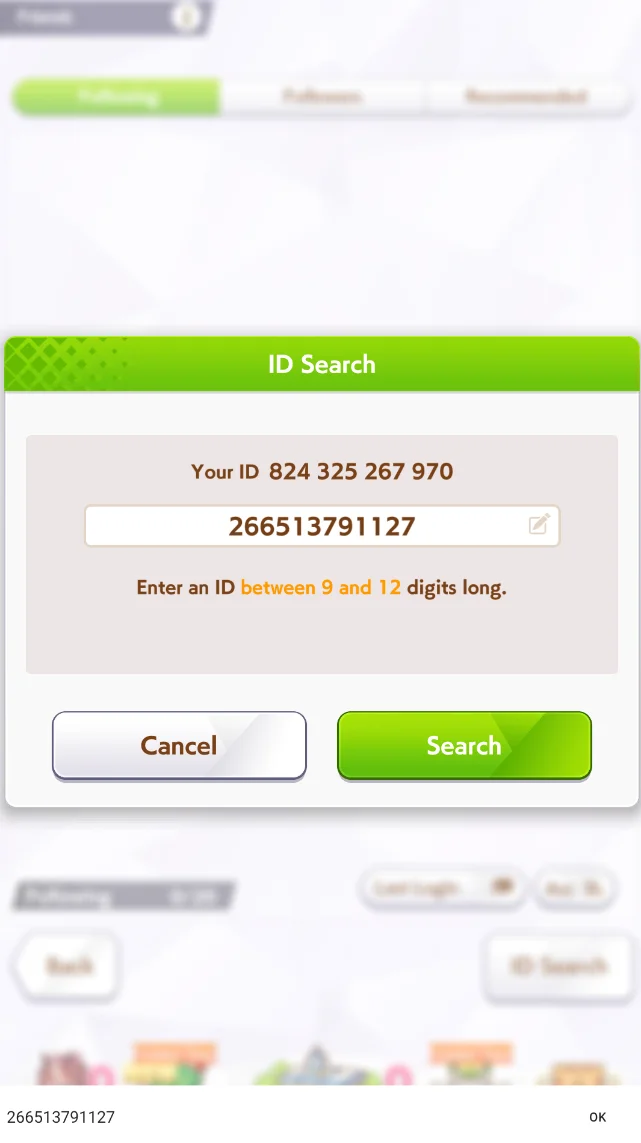
Adding a Friend In-Game
Returning to the Career, click on the Guest tab in the Legacy Select menu. Our newly followed Trainer’s Legacy should be there. We can use up to 5 Guest Legacies a day; after 5, we will have to go back to using our own.
Affinity

Affinity Icon
Once selected, we might notice that the Affinity on the top right of the screen is either a triangle, circle, or double circle. These are a general indicator of how compatible the Legacies are with your Uma, and will affect the result of your Inheritance Events. For now, however, we don’t have to worry about it.
Support Cards
Next up is our Support Card Deck. The Deck is made of 5 slots of our own Cards, and one Card borrowed from other players. For the sake of demonstration, we will be running a 4 Speed 2 Stamina Deck.
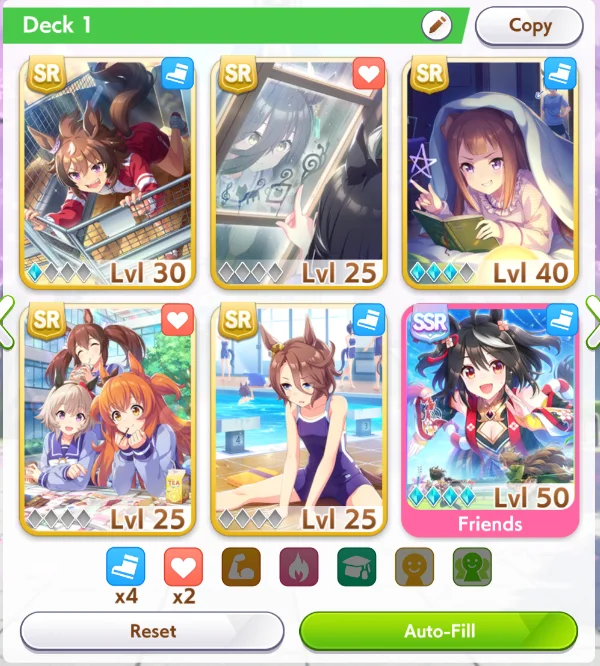
Example URA Deck
Our Borrow Slot will most likely be locked to MLB Kitasan Black for a long time. MLB Kitasan is not difficult to find in the Friends slot, but we can also use the Trainer Search site above for a permanent borrow. Unlike Legacies, there are no daily limits to borrowing Support Cards.
For the rest of our Deck, the specific Cards we use currently are not very consequential. Cards with higher uncap will almost always be better than Cards of the same Rarity and lower uncap, so we should prioritize these Cards. Do not forget to Level the Cards before we enter the Career.
Profile
Before we start our Career, we can also set our own Support Cards and Veterans for others to borrow. We can do this by entering the Menu in the Home Screen, and clicking Trainer Profile Card. From there, we can change our Star Umamusume and Career Support to Veterans and Support Cards other players may want to borrow.
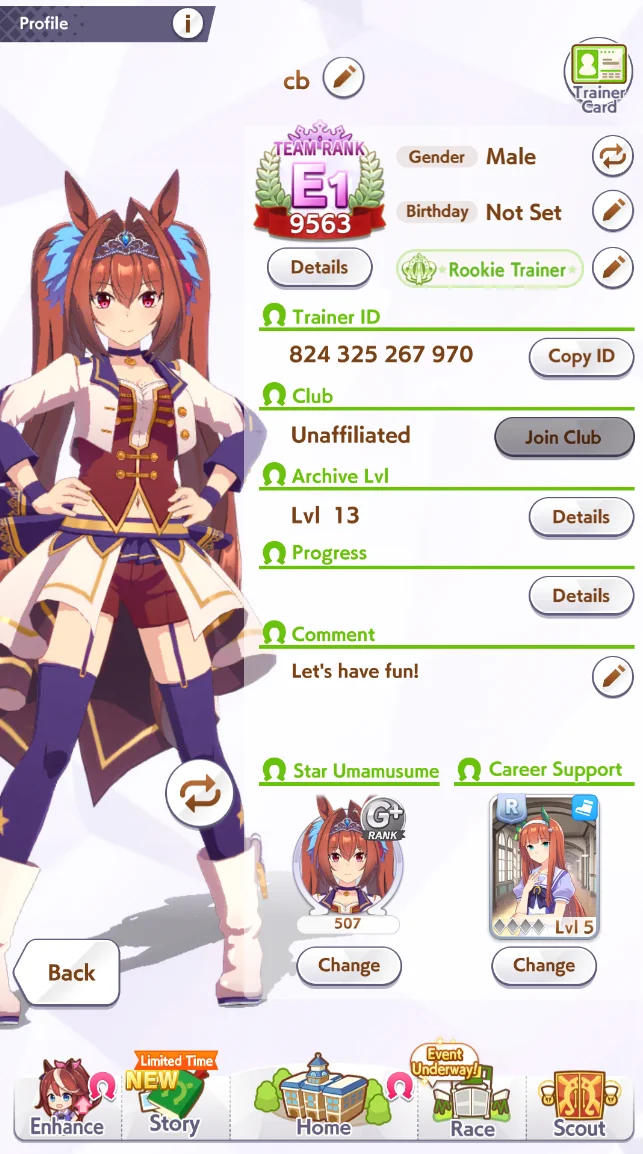
Player Profile
As a new player, we most likely do not have anything that another player may want to borrow, but it’s important to keep in mind for the future when we might.
Early Career
After the initial cutscene, we will be presented with this menu. Although we can read through the Events in the first run, we will want to select “Shorten all events” and set the Skip setting to double arrow in subsequent runs to not spend unnecessary time reading Scenario Events.
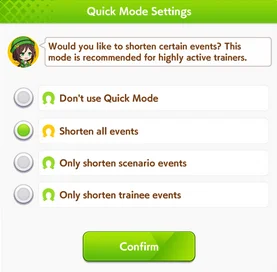
Quick Mode
If we want to only read through Events that we haven’t read before, we can go to Options and change the “Skip First-Time Events” setting to Off.
Training
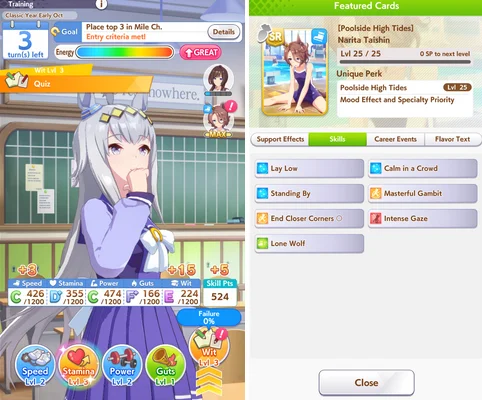
During Careers, the action we will be prioritizing the most is Training. The Training menu will have new elements compared to the tutorial. The first and most important thing to keep in mind are our Support Cards.
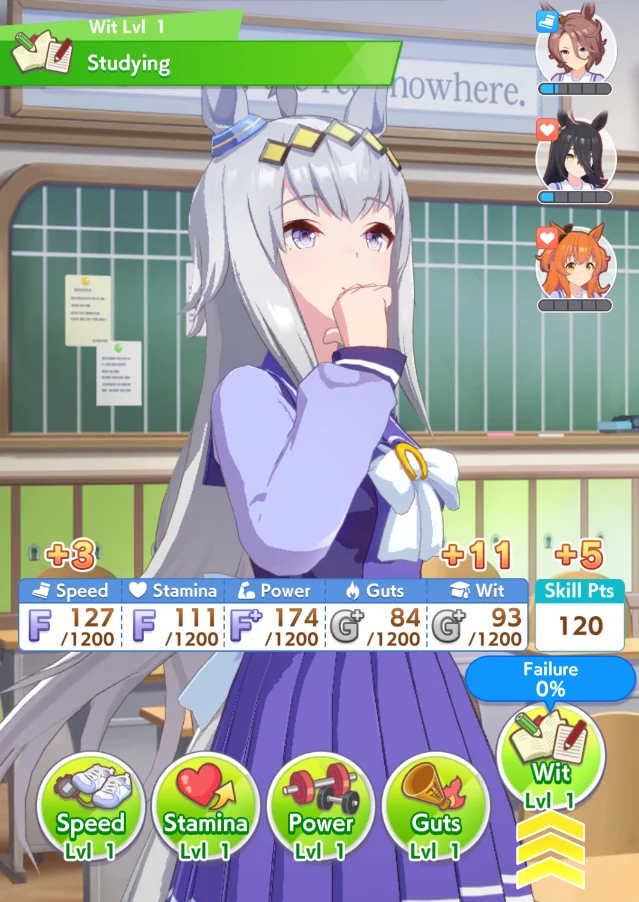
Training
The icons we see in the top right of our screen during Training are our Support Cards. Our Support Cards are only able to use most of their benefits on Training Facilities that they are on. In addition, notice the gauge below the icons: This is the Friendship Gauge. The Friendship Gauge is a visual representation of the Support Card’s Friendship value, which can range from 0 to 100. Training with a Support Card will increase the Friendship with that Card by a base value of 7. At 60, the Gauge will turn green, and at 80 gold. We want the Gauge to be gold, as that is when we unlock Friendship Training.
When a Card with 80 or more Friendship appears on their Stat’s Training Facility, they will have a Rainbow border around them and gain access to the Support Card’s Friendship Bonus effect. Depending on the Support Card, this will slightly to significantly increase the Stats given by the Training. Therefore, until all or most Cards are 80 Friendship, we should focus on increasing Friendship. After unlocking Friendship Training, we should prioritize clicking Friendship Trainings.
The second thing to consider is the Training Facility level. In URA, Training Facilities level after Training on the Facility 4 times. Every Facility level increases base Stat gain by 1, which is then multiplied by all the Support Card effects.
Occasionally, we will see a Training with a red exclamation mark on the Support Card. These are Hints, and clicking this Training will reward either a Skill from the pool of Skills the Card can provide or flat Stats.
Training with a Hint
Career Goals
Now, we need to consider our Career Goals. Here is Oguri Cap’s Career Goals, for example:
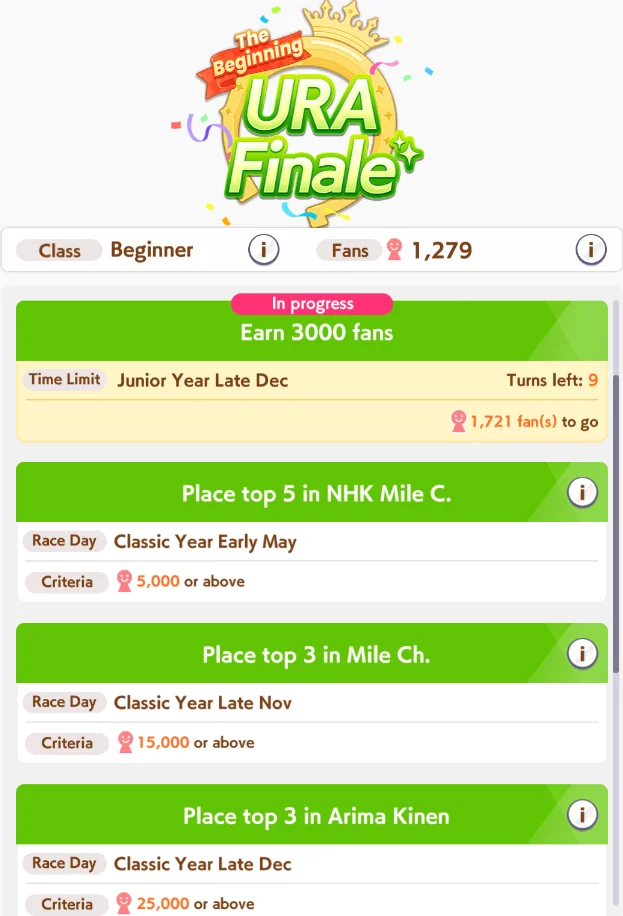
Career Goals
There are two things to note here. First of all, Oguri Cap’s first Goal is to get 3000 Fans, which is not directly tied to a Race. In order to get these Fans, we have to race any optional Race that gives enough Fans. Optimally, this will be a G1: The only G1s that fall before the deadline for this Goal are the Hanshin Juvenile Fillies and Asahi Hai Futurity Stakes in Early Dec, and Hopeful Stakes in Late Dec.
Another thing to consider is the Arima Kinen, which is a Long Race. Long Races have comparatively higher Stamina requirements, so we must obtain at least some Stamina.
If we fail any of our Career Goal Races, we can use Alarm Clocks to re-try the Race. The first re-try is free every day, and we can use up to 3 Alarm Clocks per Career.
TIP
Alarm Clocks are very important in the upcoming scenario, Make a New Track. Due to this, it is recommended to not spend too many Alarm Clocks.
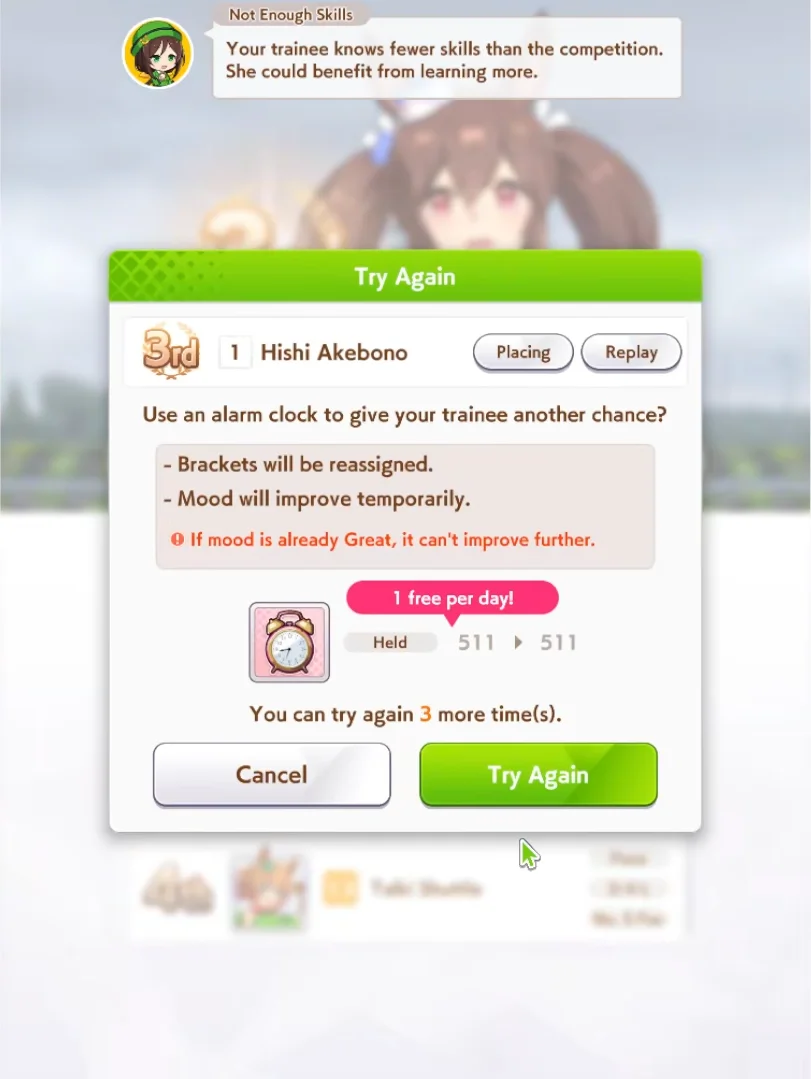
After failing a Career Race Goal
Winning a Race will reward us with various materials needed to upgrade our Trainees. All Races will drop Shoes of their Distance, and winning G1s will reward their respective Sashes.
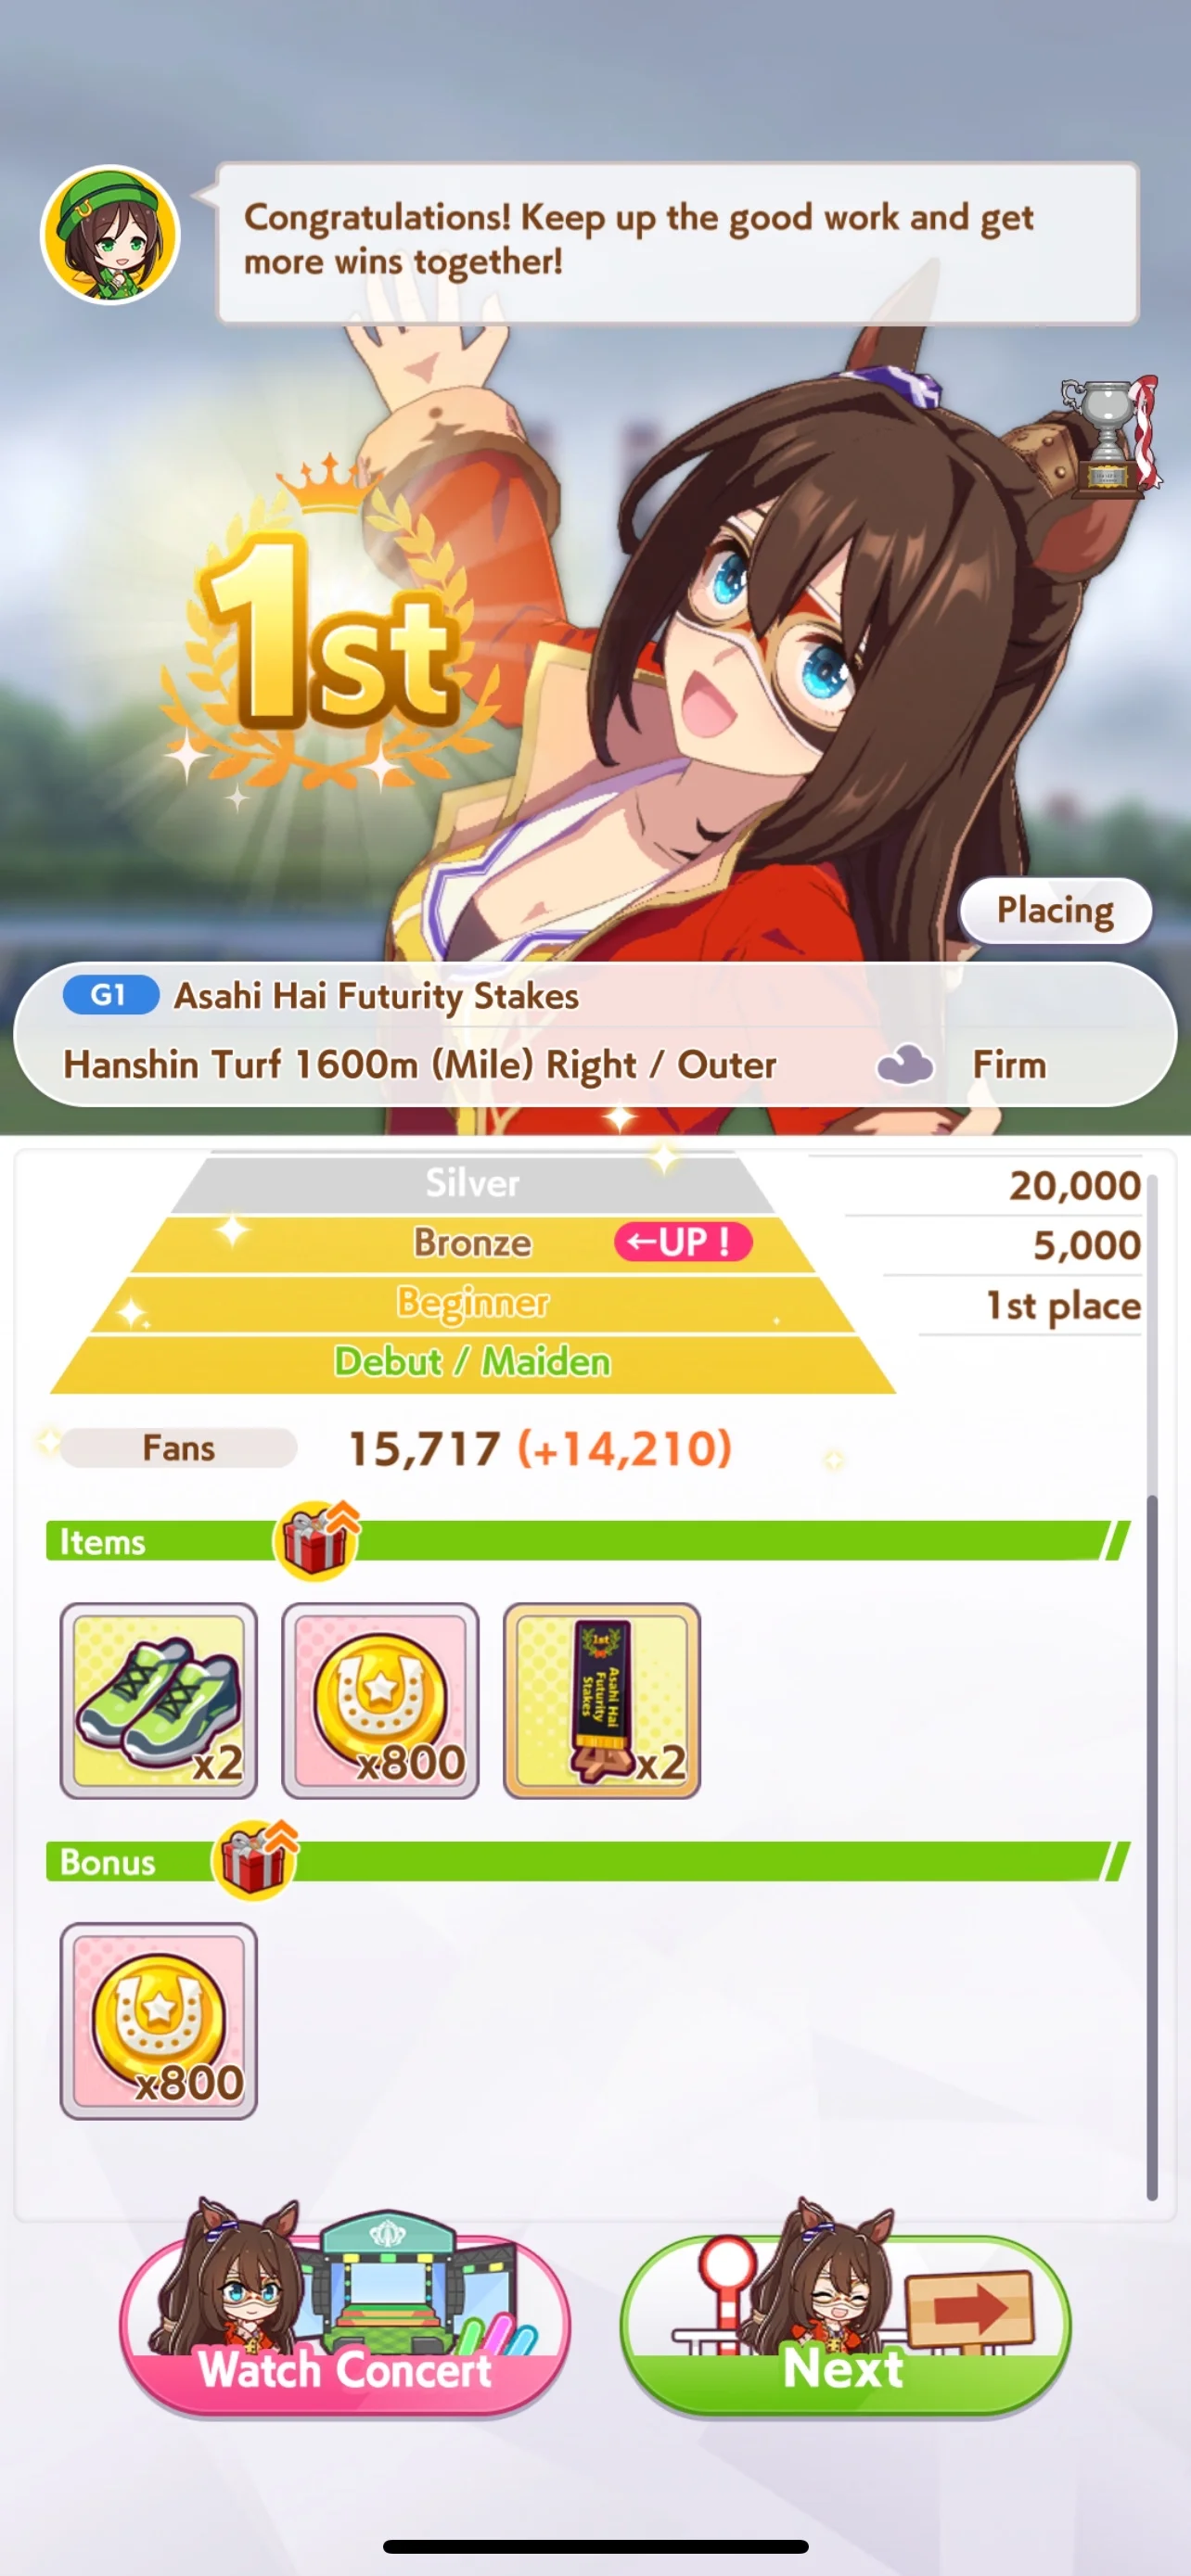
Rewards after winning a race
After the Hopeful Stakes, Junior Year ends and Classic Year begins. Before Classic Year, the New Year Shrine Visit occurs. We are given three choices; unless we are close to full on Energy, we want to select the middle option.
Inspiration
Once we’ve played through a portion of the Career, we encounter the first Inspiration Event in Early April of Classic Year.
Inspiration Event
The Inspiration Event happens again in Early April Senior Year and is the 2nd and 3rd times we can receive benefits from our Legacies.
Summer Camp
Once we enter Early July, we will be in Summer Camp for 4 Turns. In Summer, all Training Facilities are level 5 and Rest changed to Rest & Recreation, which recovers 40 Energy, +1 Mood and every negative condition. Because all of our Facilities will be leveled, we want to be as high Energy as possible before going into Summer. We should Rest in one of the previous Turns to prepare for Summer.
Remainder of the Career
From here on, we can play through the Career as normal. The New Years Shrine Event occurs again at the start of Senior Year, the Inspiration Event occurs again on Early April, and Summer Camp occurs again on Early July. There are two unique events to Senior Year, the first being the Unique level up Events.
| Timing | Requirements | Requirements Met | Requirements Not Met |
|---|---|---|---|
| After Late January (Valentine’s Day) | Turf Uma: Have 60,000 fans Dirt Uma: Have 40,000 fans | +1 Unique Skill Level | +20 Skill Points |
| After Late March (Fan Fest) | Turf Uma: Have 70,000 fans and Director bond above 60* (URA only) Dirt Uma: Have 60,000 fans and Director bond above 60* (URA only) | +1 Unique Skill Level +1 Mood | +25 Skill Points -5 Energy |
| After Early December (Holiday Season) | Turf Uma: Have 120,000 fans Dirt Uma: Have 80,000 fans | +1 Unique Skill Level | +20 Skill Points |
URA Finale
The second are the URA Finale Races. After Late December Senior Year, we must win three additional Races, the URA Finale Qualifiers, Semifinals, and Finals. Career Events no longer occur after Late December, and we receive a large amount of Stats after winning each URA Finale Race. Once we win the URA Finale Finals, we receive the Good Ending and the run ends.
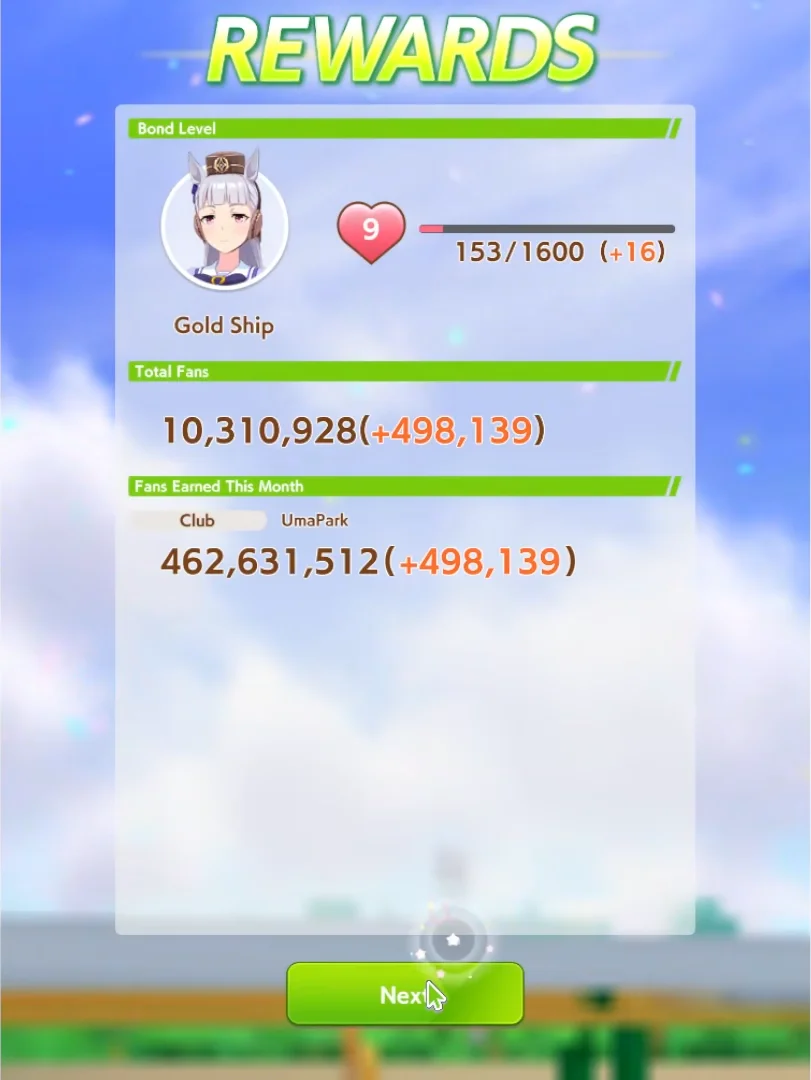
End of the Run
At the end of a Career, we receive the Fans we earned in the run and Bond towards our Trainee. If we are in a Club, the Club receives the Fans as well.
After our first Career, re-running the Career on multiple different Trainees is recommended. This will improve our understanding of the URA Finale and how we can optimize our runs.
Until we are fully accustomed to the URA Finale scenario, it is not recommended to move on to Unity Cup. Not only does Unity Cup require better Support Cards on average, it has a steeper learning curve and can be daunting for beginners. URA is comparatively simpler, and eliminating additional variables will help us grow accustomed to Careers faster.